Welcome back to the story of the 1822 wedding dress for the wedding of Ann Croghan and Thomas Jesup at Historic Locust Grove–if you haven’t read parts 1 & 2, please check them out!
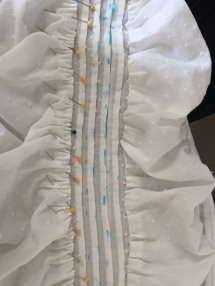
My big triumph for the beginning of the week was getting all of those pintucks done!
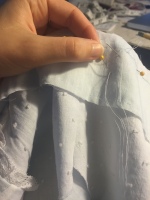 Once I was down to the final cluster, I took a pintuck vacation to sew the waistband onto the bodice. It was important to do this before I completed the last few pintucks, because I could then hem the skirt, pin it to the bodice and try it on to test the length. Good thing I did, too, because I ended up only needing two more pintucks, instead of four! (After another look at my research images, I realized it should be a bit longer than I had originally planned for).
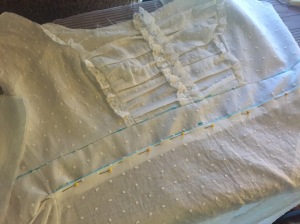
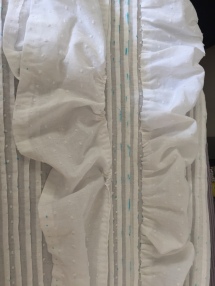
But an end to pintucks didn’t mean an end to skirt decoration. I still had an uphill slog before the skirt was ready to go. What more fiddly bits could it possible need, you ask? Why the poofs of course! Every bride needs her fair share of over-the-top accents.
 Like all ruffle-related accents, they took up more time than seemed necessary, but I gave myself three days, including an entire Saturday, to work on them. Each one started with a band of fabric nearly twice as big around as the actual skirt. The worst part about ordinary ruffles is that you have to hem the darn things, and hemming 145 inches of fabric for each ruffle is no picnic. Luckily, no hems were needed here. Instead, each piece had to be creased under, then get a gathering stitch along both edges. Thank you again to Judy and Heather, who got two thirds of that pain in the butt done for me!
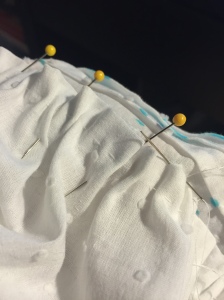
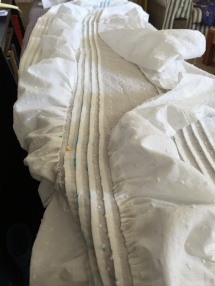
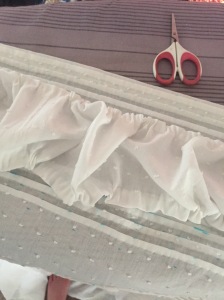 I divided each poof into quarters to make it easier to gather evenly, and put them on the skirt one quarter at a time. Each quarter was pinned into its section of skirt, gathered to fit, pinned to within an inch of its life and stitched. The real majesty of the poof doesn’t show until you pull out the gathering stitches.
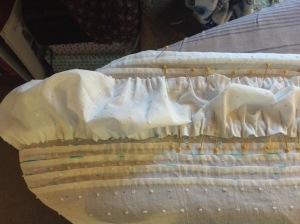
Saturday morning, Brandon and I went on a great hike (the first one since his surgery, and he says he wants to keep doing it!), rewarded ourselves with ice cream, and then I settled down to this for the rest of the day:
Okay, okay, I tell a lie, I actually settled down to this:
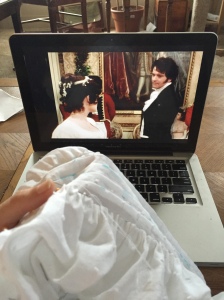
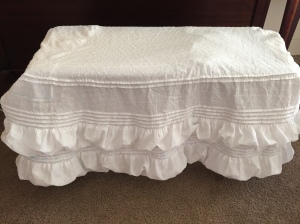
After sixteen hours (Thursday, Friday, and Saturday) of gathering, pinning and sewing, all three poofs were present and accounted for:
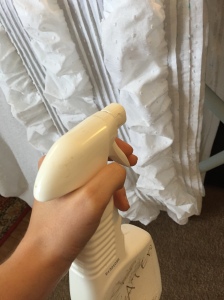
Finally, finally, finally, the skirt is finished!!! Time to move on to more exciting things!
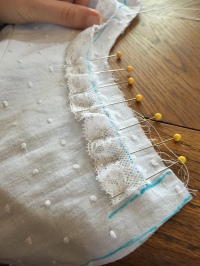
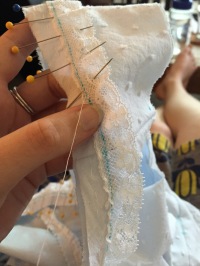 Lest you were afraid there wasn’t enough lace going on with this wedding dress, here I am tacking some all around the neckline so that it will form an adorable ruffle once the lining is sewn in.
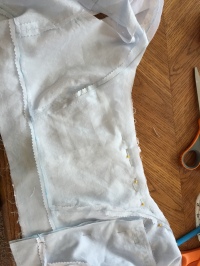
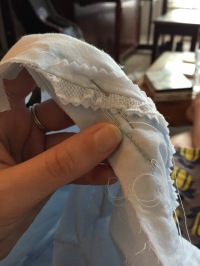 I spent a lot of my lining-sewing time holding the project up to the light to make sure the lace was laying correctly. The last thing I wanted was to have to tear part of it out to fix something. Huzzah for sheer fabrics!
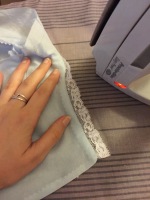
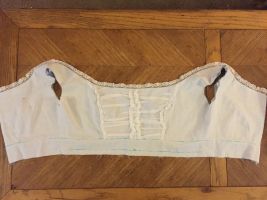 And this is why you check and check and check… because when you turn everything around and press it, the lace is all pretty and perfect! And guess what? This is the LAST photo of the bodice all by itself!
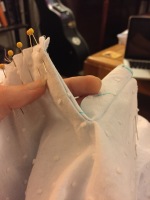
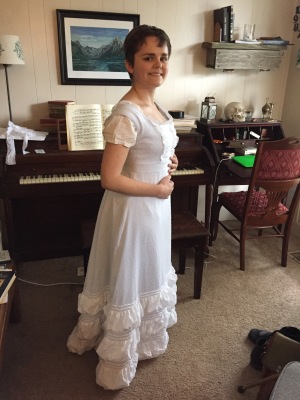
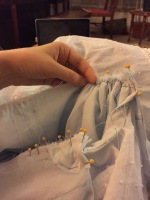 Yes, indeed! Time at last to add a placket to the skirt and gather the skirt into the waistband! There was so much fabric to gather into just a couple of inches on each side of the skirt back, I was almost afraid it wasn’t going to fit. But I crammed it all in there and managed to get a needle through it and, at long last, the dress is all one piece!
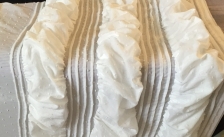
The short sleeves in the picture are just my shift sleeves showing, they’ll be all covered up when I get the real sleeves in. I’m thrilled with how the color looks. It’s hard to tell in the pictures, but you can really see the blue through the white, and it makes a really nice effect on the ruched front and between the poofs on the skirt.
Now just to make those lovely sleeves and add a few finishing touches–see you next week for (fingers crossed) the final installment!
There’s a light at the end of the tunnel!
Hannah
You can read all about finishing the wedding gown in The Wedding of Miss Croghan, Part 4!


THIS LOOKS INCREDIBLE!
And the blue really does create a nice look- fantastic!
LikeLike