
I have been part of a Victorian court interpreting group since the beginning of the year, helping to support my amazing friend Amy as Queen Victoria by portraying one of her Maids of Honour. Since we were just getting started, I was stuck wearing my 1840s gear until I could get an 1850s outfit pulled together. We did several gigs this spring, and I had no time, as other projects were more pressing, but as a September gig approached, I was determined to make my newest decade happen!
Of course, no historical ensemble is complete without the full range of appropriate shapewear. For the 1850s, you’re looking to create the nipped-in waist and bell shaped skirt that is iconic for the decade.

This won’t be the most in-depth post I’ve ever done, because I was seriously racing against the clock to make this, but here is what I have:
To start with, I had some corseteering to do. I’ve never been very happy with my old corset. The fabric I used just wasn’t strong enough, and it was basically pulling itself apart from day one. It was also a later Victorian shape, so I decided I would pull it apart, reuse the bones and busk, and replace it with two new corsets, one later Victorian and one mid-Victorian. This is the mid-Victorian, and the later one will come some time in the next 2 years depending on what I end up needing it for!
The new corset is made using Redthreaded’s 1860s corset pattern, which only needed slight modifications to fit me perfectly. I used a purple cotton sateen from Renaissance Fabrics leftover from my 1870s bustle.
The first step of any Victorian corset (or at least all the ones that I’ve made) is inserting the busk. For me, this meant first ripping said busk out of my old corset.


I must have marked all my lines on the wrong side of my fabric, because I ended up putting the busk with the hooks and loops on the wrong sides. This doesn’t actually matter functionally except that it still feels a bit weird to do up the busk.


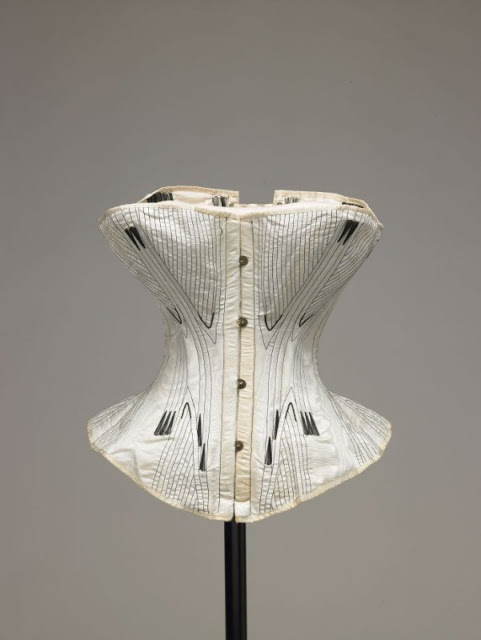
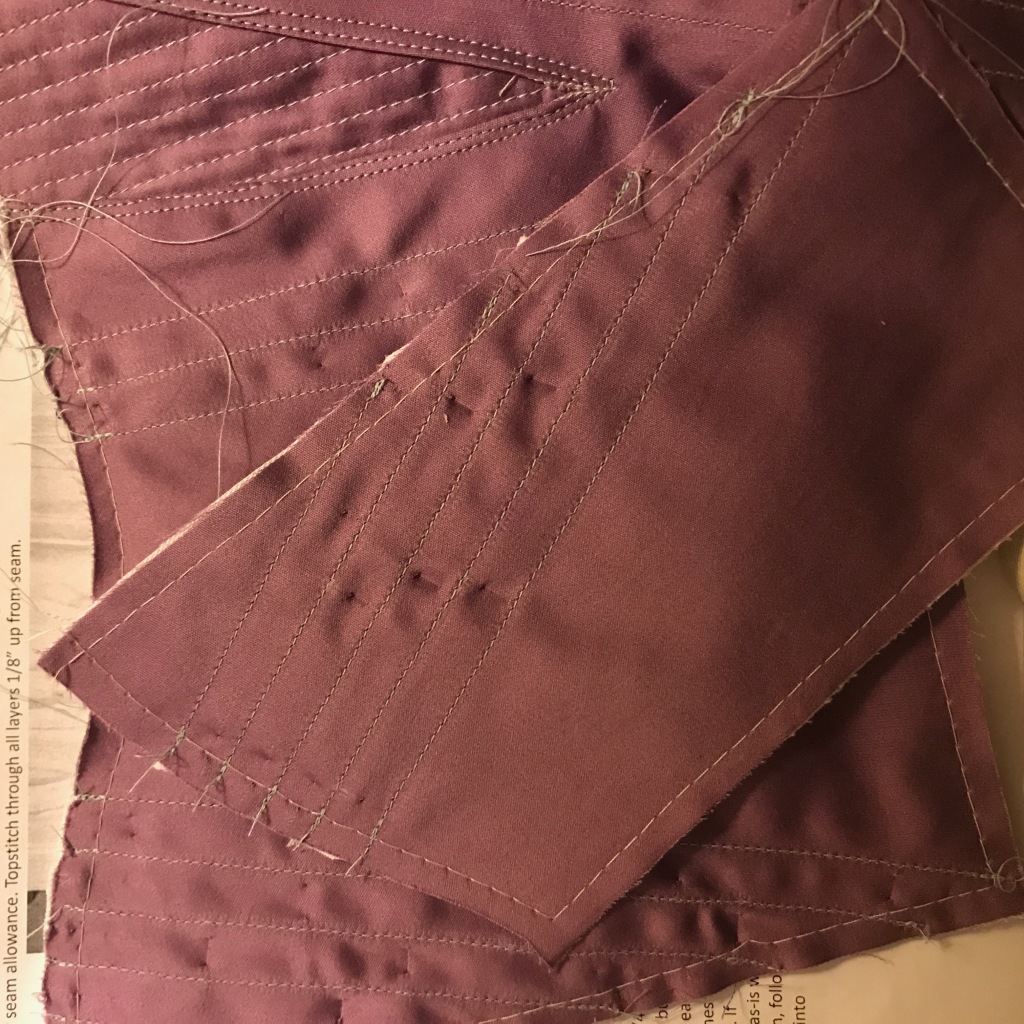
I added a bit of quilting on the bust gussets, since you often see quilting on corsets from the 1850s. I based my simple parallel lines on this example from the de Young Fine Arts Museums of San Fransisco.


Next, boning channels! These are done using bone casing (this and the grommets came from Corsetmaking.com) on the inside of the corset, with contrast stitching showing on the outside. I think with my next one, I’ll try doing them in self-fabric on the outside.

Most of the boning channels do not intersect the corset’s waist seam, so those are all put in before attaching the hip gusset. This is a wide piece that allows the corset to flare dramatically at the hips. After all, while you might want a tiny waist, there’s no point in constricting your hips when you’re just going to put a big hoop over them!

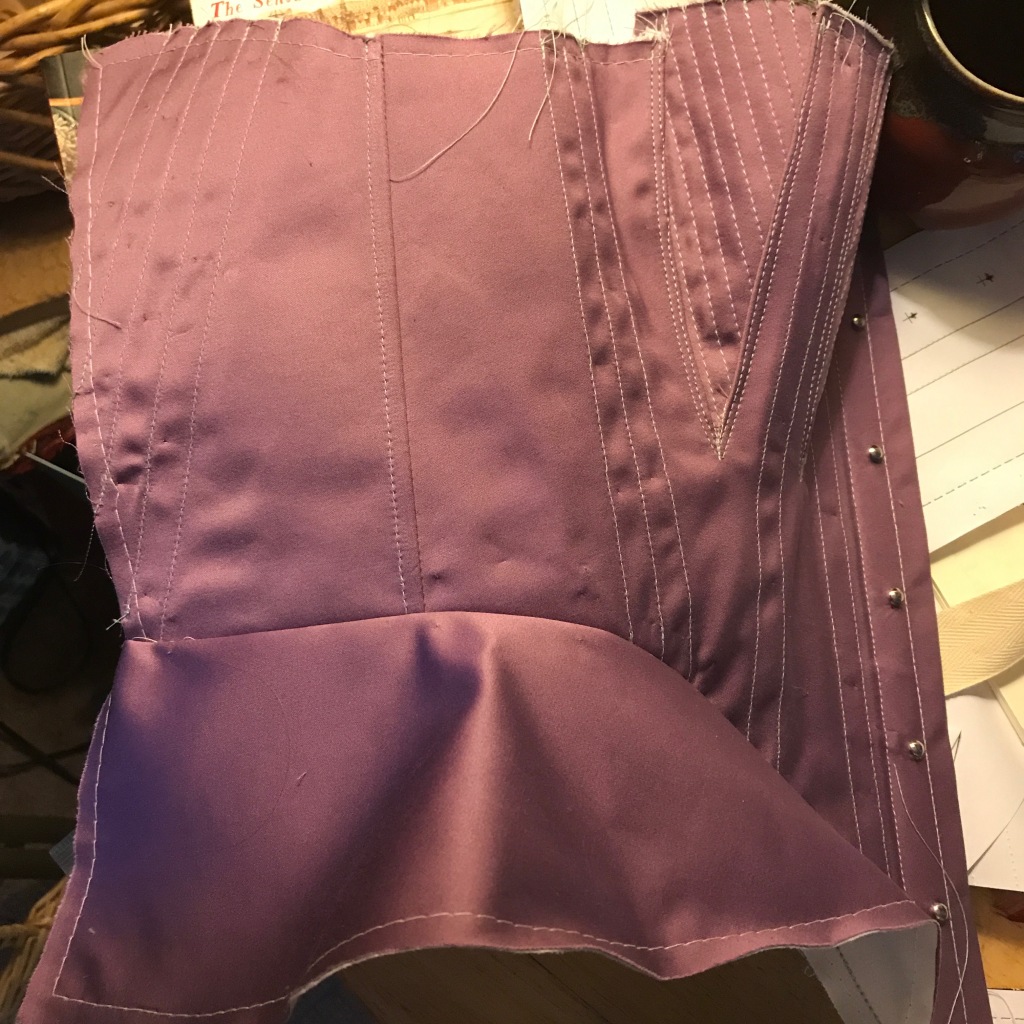
There are two bones on each side that cross the waist seam and keep the sides under control. Otherwise, the hip gusset would be likely to crumple towards the waist when worn.
Next up: grommets! Always a satisfying pursuit, as it involves hitting things with a hammer.

Once all the bones were inside, I bound the edges with a strip of the same sateen.

Because the seam allowances at the point of the gusset are nearly non-existent, and it’s a point that’s likely to take strain, I reinforced that area with satin stitch in a cotton embroidery floss that matched my thread. You see this detail often on corsets from the 1850s, including the one in the photo at the beginning of this post.


Just one final step: flossing! This is decorative stitching, usually done in a contrasting color, which holds the ends of the bones in place and helps prevent them from tearing through the fabric.


And that’s done!
I love it. It’s amazing how much you learn just by making and wearing one of something. This is leaps and bounds above my old corset in terms of quality and comfort. I definitely highly recommend the RedThreaded pattern!


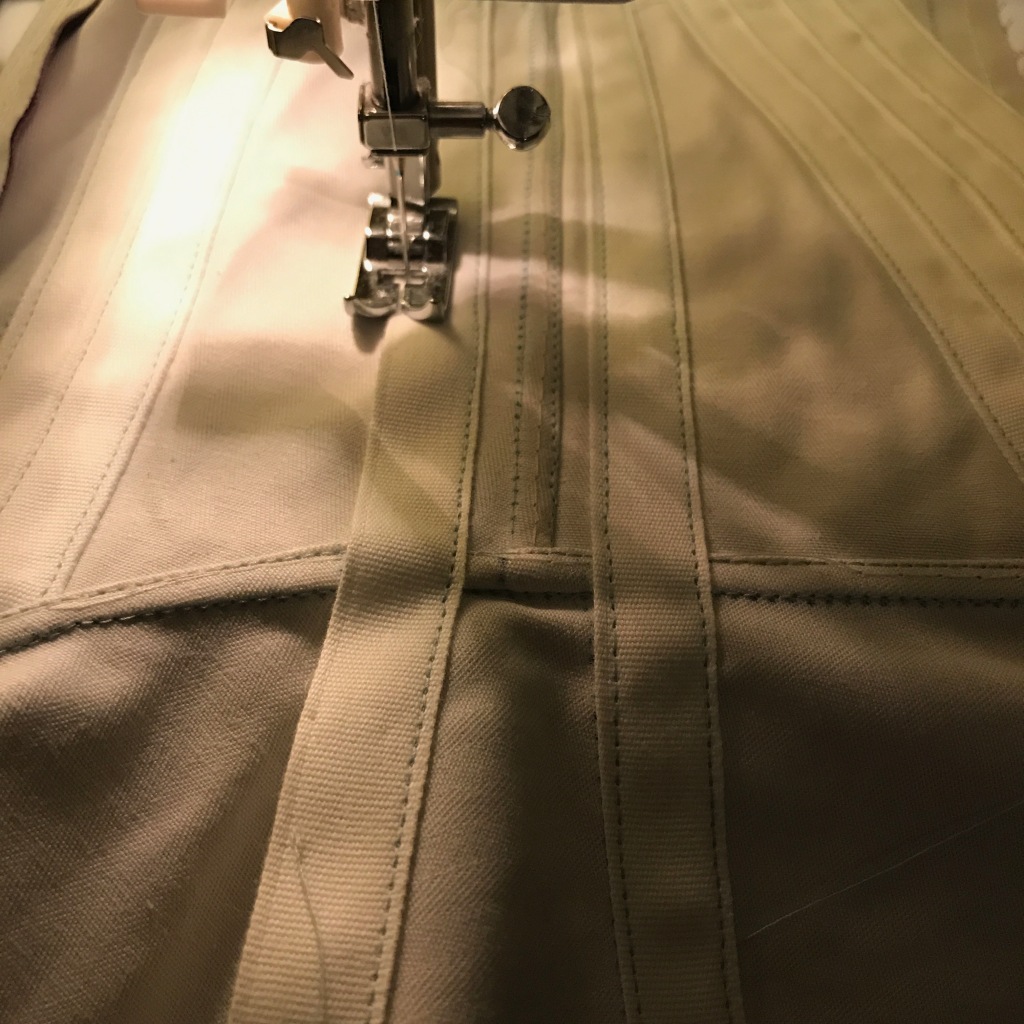
The other major structural garment I needed was a hoop skirt. I used the Truly Victorian Walking Hoop Pattern, made with some white cotton I had in my stash and an adorable grosgrain ribbon from Farmhouse Fabrics.
A fabric ‘bag’ encloses the bottom three hoops to prevent you from stepping though them by accident.

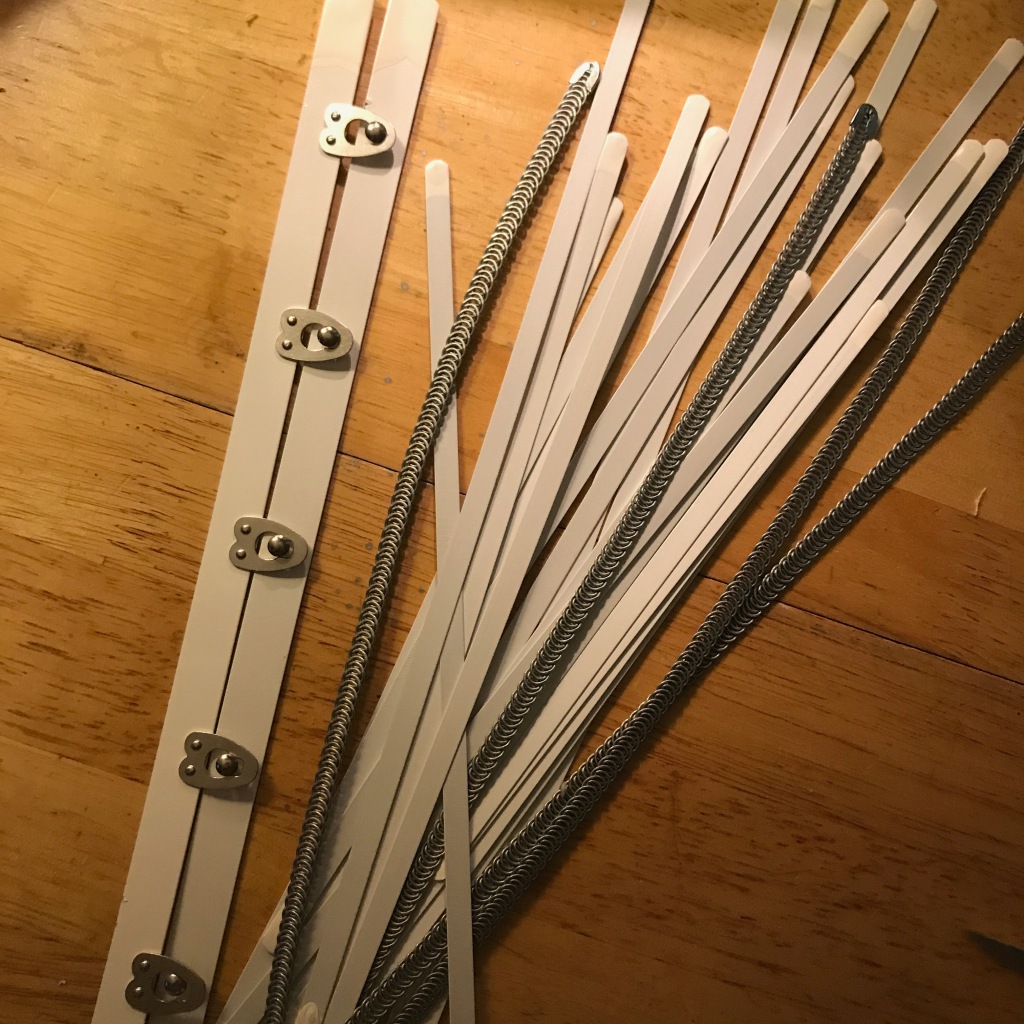
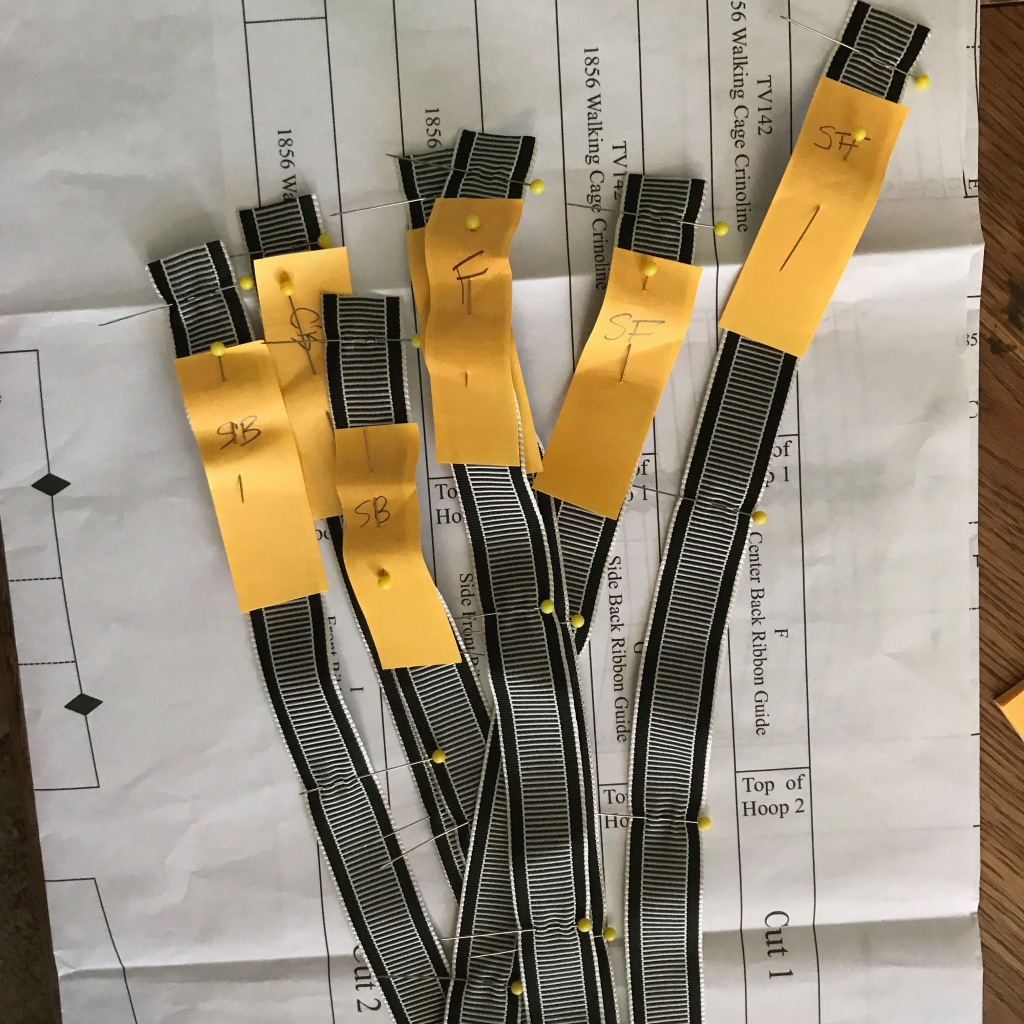
Oddly, the most stressful part of this project was keeping track of the different ribbons. Since the hoop is slightly shorter in front and longer in back, it was imperative to make sure I didn’t get the ribbons mixed up after they were cut! I did pinned a note to the top of each ribbon. The horizontal pins you can see are marking where the ribbons will attach at the top and bottom, and where the tops of each hoop will sit.
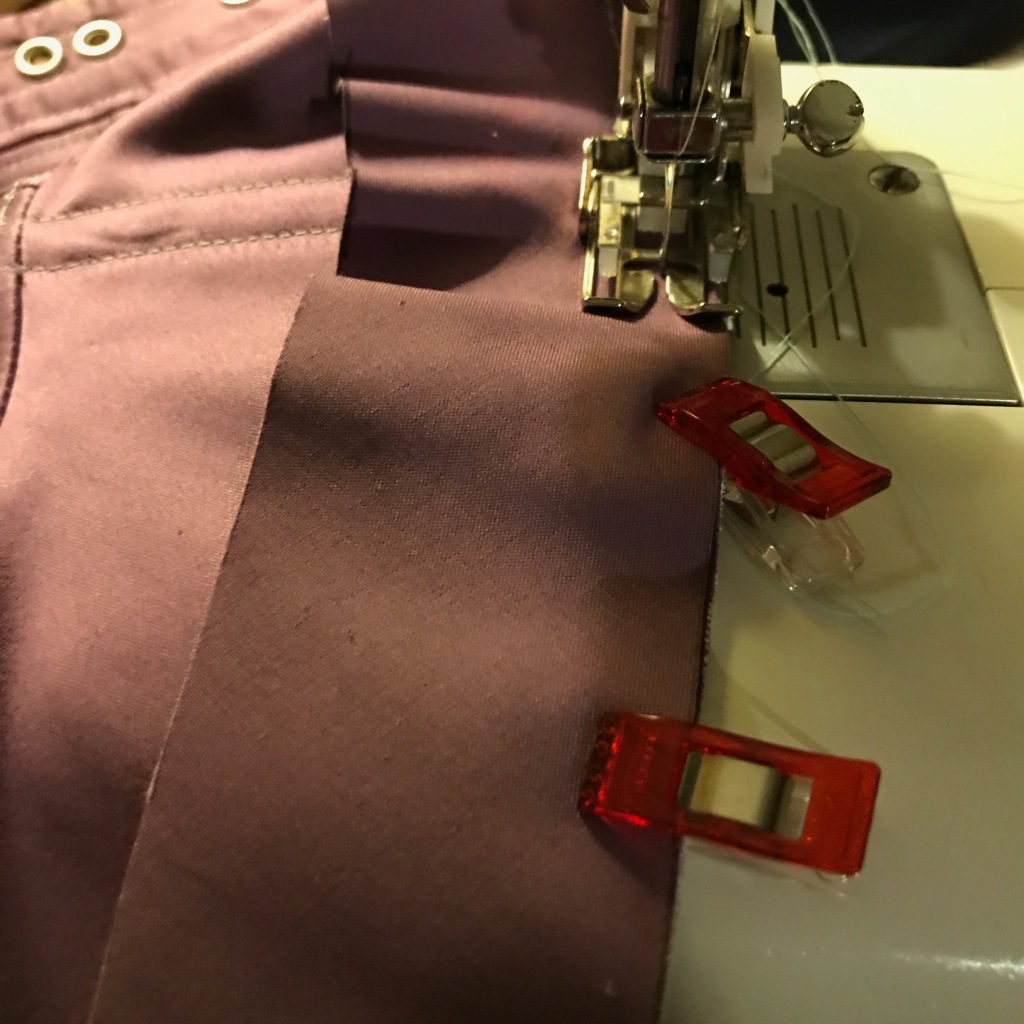
Attach the bottoms of the ribbons to the bag with nice, sturdy stitching!


The tops of the ribbons are sandwiched between two layers of a little corselet that goes around the waist. This has several bones in it to keep it from bunching up, and is bound at the top edge.
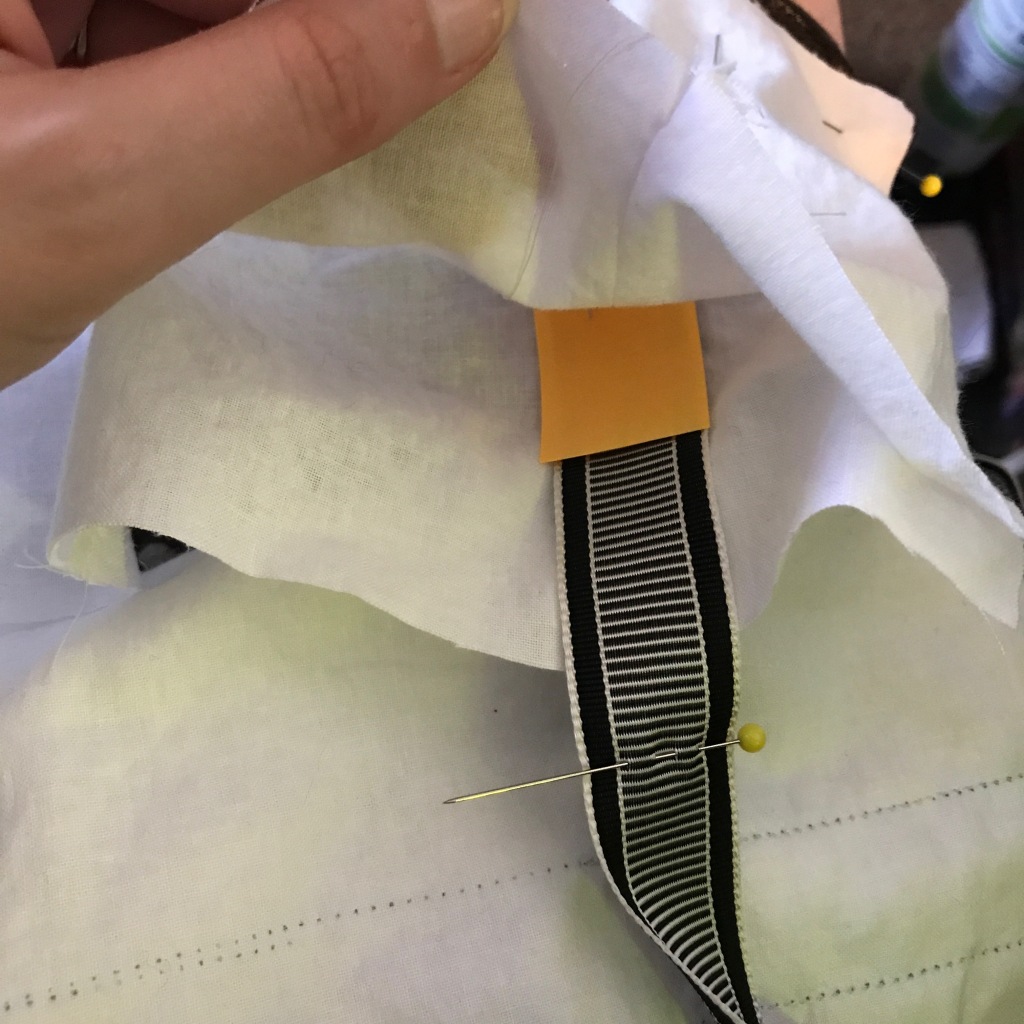


The bones and bone casings were also all very carefully labelled so as not to mix them up!


As I was attaching the bone casings to the ribbons, I made sure that the join in each bone casing is covered by the center back ribbon.


It is impossible not to swing back and forth like a bell while wearing this:

I also made a petticoat to go over the hoop, smooth the silhouette, and bulk up the skirts even more. I didn’t bother to photograph this process, since it’s just four rectangles sewn together. Truly Victorian has the instructions and diagram for this petticoat available for free!

I do want to add a corset cover to this set of underpinnings, but overall, I’m very pleased. The 1850s were a decade I probably never would have ventured into on my own, but now that I’m here, I’m loving them, and have so many more plans! It’s a crazy month for me, but as soon as I have a chance, I’ll write up a post about the first dress I’ve made to go over these underthings!

Amazing job! Thank you for showing it step by step.
LikeLike
I’m getting ready to make both this corset and this hoop, so thank you for the detailed info!
LikeLike